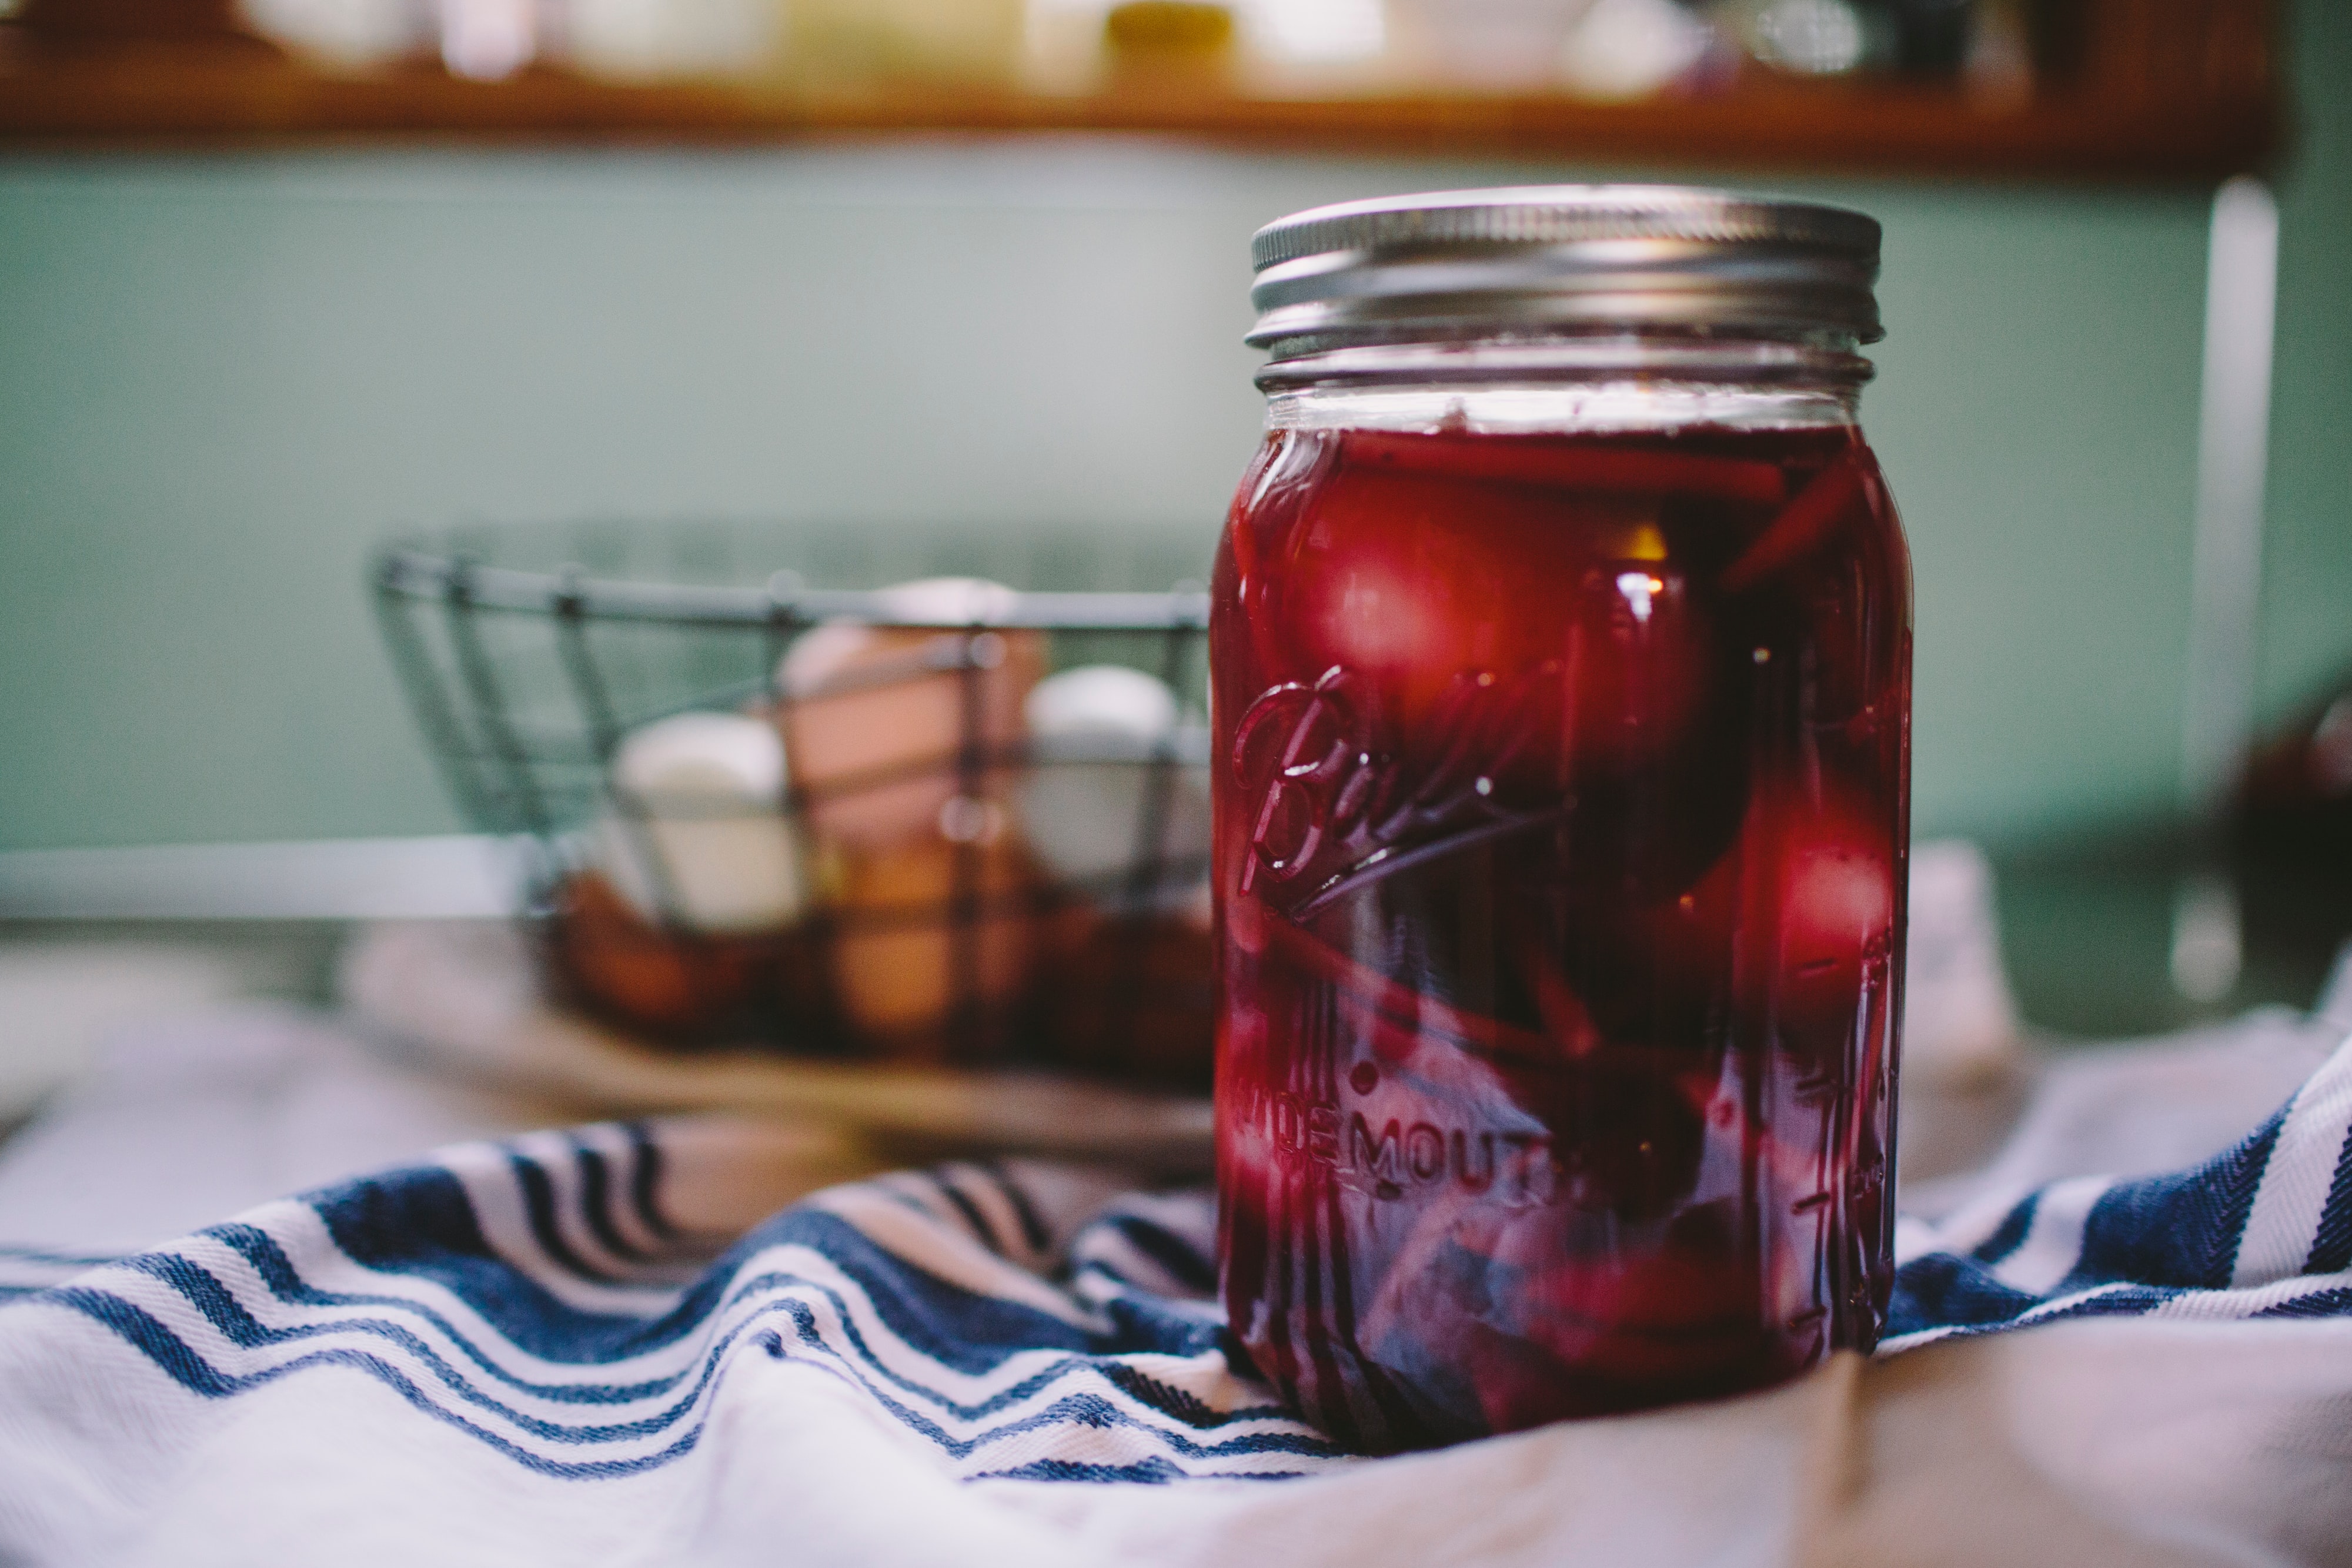
A manifesto about chunky jam
For some peculiar reason, I’ve decided that canning jam is the next side hustle I have to capitalize on. Meaty pieces of fruit wrapped in a warm blanket of gel really get me going, especially when there’s a piece of whole grain toast involved. My first exposure to preserves was at Pearl’s Barbecue, a gas station restaurant in Micanopy, FL - it’s as “old Florida” as you can get, and their homemade jams ranged from Dutch Apple and Peach to Spiced Apricot. The commercialized goop that Publix and Kroger sell can’t compare to the hardboiled fruit, lovingly enveloped by sugar and lemon juice.
Canning jam is an ancient art and a practical way to prevent air from spoiling food over the winter. It’s not as simple as dicing up fruit and sticking it inside throwaway glass jars - you need specific cookware, uninterrupted chunks of time and a bold love of boiling water. Canning is half messy middle school science project, half cooking cult that ropes in West Virginia moms and the Pioneer Woman. I’ve got a hidden backcountry streak inside me, thanks to listening to Bluegrass music (I love the Steeldrivers to this day) and spending 5 years of my young adulthood in Gainesville, Florida, the capital of cracker country. How can I not be obsessed with jam when North Florida was littered with generational farms and Native American ruins from the Seminole wars? Hence, my bizarro fixation1 on learning how to preserve fruits and create a sustainable hobby that’s sweet and skill building.
Since I’m currently residing in San Francisco, CA and am about to fly home to Phoenix & Florida, canning isn’t the most accessible hobby. I could theoretically buy supplies in the Bay Area and ship my gleaming Ball jars back home, but this inefficiency would make tech bros reel. Instead, I decided to pen the “Pre Jam Papers,” a collection of articles regarding my reasons for canning, useful research I’ve come across and the various jam recipes I’ll eventually boil once supplies are plentiful. Shout out to Alexander Hamilton and his Federalist Papers for inspiring this series - I’ve learned that you can write essays about any topic, from colonial government structure to canning fundamentals.
Part I: Canning Basics and Essential Tools
Transforming fruits into thicc nectar
Thanks to Martha Stewart and the University of Georgia, I have a solid grasp on the essence of canning and what tools are needed to transform raw material into velvety spread. “Canning,” the boiling of fruits & veggies in glass jars is a subset of “preserving,” which is a broader term that means using “heat, acid, smoke, or salt” to prolong the shelf life of any food. The whole idea is to seal foods in airtight containers so the wiggly worms in the air (microbes) don’t eat and spoil our dinner. Canning was the OG before refrigerators and freezers, but the method is now in vogue because of its “back-to-nature” appeal. The pandemic has also made canning sexier because it takes time (an abundant asset in 2020) and is a much-needed sugar rush that comforts us and helps fight uncertainty.
The most popular canning method is “Water Bath Canning,” which involves sticking glass jars in boiling water to kill all bacteria and set the (also boiling) jam in place. Canning isn’t for those who are afraid of hot water and rigid timing - small mistakes could spoil the batch and encourage the growth of Clostridium botulinum, a germ that “can affect your nerves, paralyze you, and even kill you.” We don’t want any of that!
To prepare for my canning bonanza, I read this illustrated pamphlet published by UGA’s College of Agricultural and Environmental Studies. Before jumping into the details, I wanted to highlight the equipment necessary for a successful canning session: mason jars with lids & bands (the preferred brand is Ball), large canning pot, canning rack that fits inside the pot, tongs that wrap securely around the jars, and a funnel for transferring jam into the jars. Ball sells a 9-piece starter kit on Amazon for $45 but Walmart/Target have cheaper alternatives as well. The Pioneer Woman also recommends buying a “ metal wand” to grab the lids and place them directly on the cans before the bath.
#WurstTip: Don’t buy Ball jars on Amazon! They are overpriced and often counterfeits, so it’s better to purchase them in person at Walmart, Target or home crafting stores like Michaels or JOANNE Fabrics. If you’re paying more than $10 for a 12 pack, then someone is making you a canning chump.
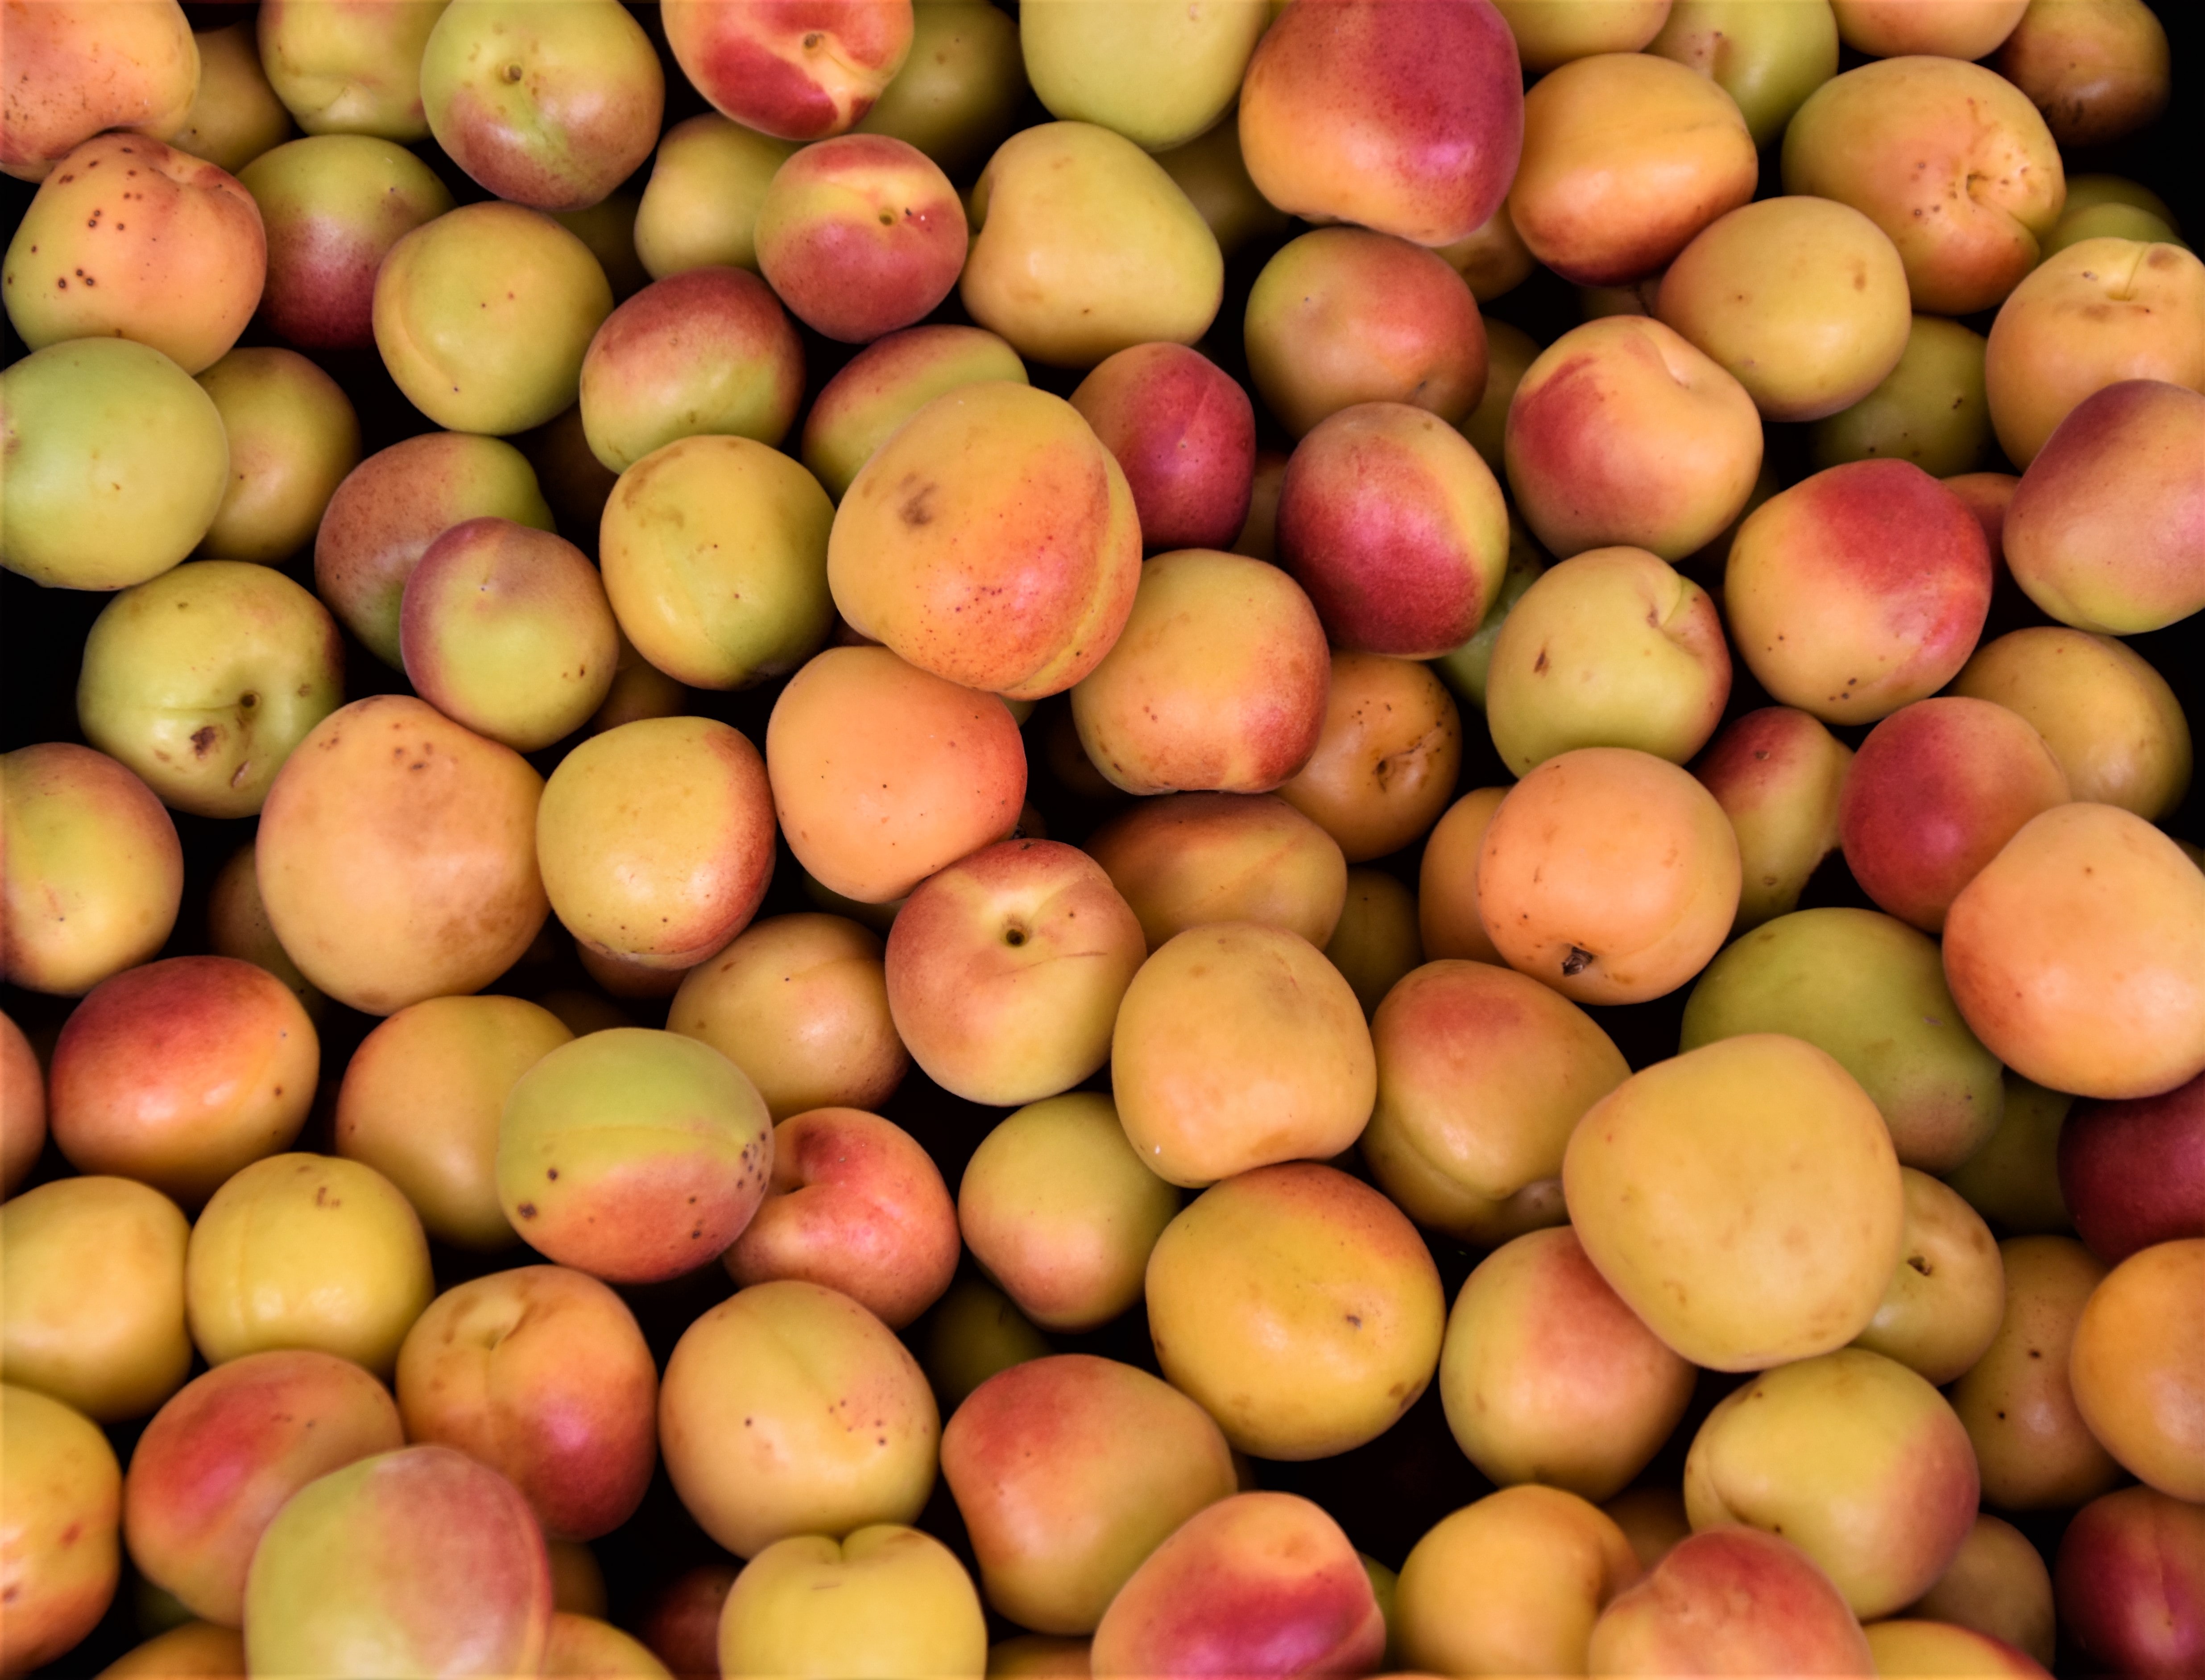
Kitchen stocked and fear of boiling water conquered, the next decision is what fruit to can (we’re not dealing with canning veggies because those are better frozen anyway). At this point, the pectin compound takes center stage - pectin is a gelling fiber that is found naturally in fruits and veggies and is also sold commercially in liquid or powder form. It’s the gelatinous substance between the chunks of fruit and gives jam its gooey appearance. Pectin is high in fruits like apples, plums and grapes and lower in stony fruits like peaches, apricots and figs. The synthesized pectin gets the job done, but you can also find recipes that only use fruit, sugar and lemon juice. UGA recommends following whatever jam recipe you have because interfering with natural vs commercial pectin could ruin the jam or make it spoil faster.
Speaking of fruit, sugar, lemon juice and pectin…those are the lone ingredients for homemade jam. They’re understated and local, the opposite of extravagant foods that are dyed blue or are delivered throbbing and salty on your dinner plate. Once you have these four troopers, your hands are ready to pirouette between jar and jam, the tools a loving extension of your will. The steps in canning are multivariate and differ between recipe and source, but the basic layout2 is below:
Place your mason jars on the canning rack inside the giant pot and bring to a simmer. Maintain the soft simmer while you’re preparing and boiling the jam. Also place the lids and bands in a separate, smaller pot and simmer. This step is priming the jars so when hot jam is placed inside, the glass doesn’t crack.
Mash ~1 pound of your desired fruit and add to another large pot. Whisk in a few tablespoons of lemon juice and a pat of butter. Bring to a gentle boil.
#WurstTip: The lemon juice brings acidity and flavor to the jam mixture. Without it, the pectin won’t gel properly or would take longer than normal.
Once boiling, mix in a shit ton of sugar (around 3 cups but it depends on the recipe) and increase the heat even more. The Pioneer Woman describes this state as a “violent boil,” but basically you want to see bubbles doing the ballet and spilling over the side.
Boil for a few minutes (again, this varies from one minute to twenty) and then turn off the heat. A “skin” should form on the surface, but this can be skimmed off with a spoon.
Remember, your canning gear is still simmering in the background and probably making your kitchen a hot house. Remove the cans using the tongs and place on a clean surface.
Pour the piping hot jam into the jars using the funnel. Leave a healthy ¼ inch between the jam and jar rim (called “headspace”).
Clean the rims and place the lids/screw bands on the jar (which is going to be steaming, so be careful).
Once all the jars are filled, place them into the canning rack in the giant pot and bring to a boil for ~10-15 minutes. This is killing microbes and any other wigglies that could potentially kill you.
Take out the jars and let them set at room temperature for up to 24 hours. I’ve heard whispers that during this incubation period, the jar lids begin to Pop! and create a canning symphony…my Post Jam Papers will include a recording of this music if the rumors are true.
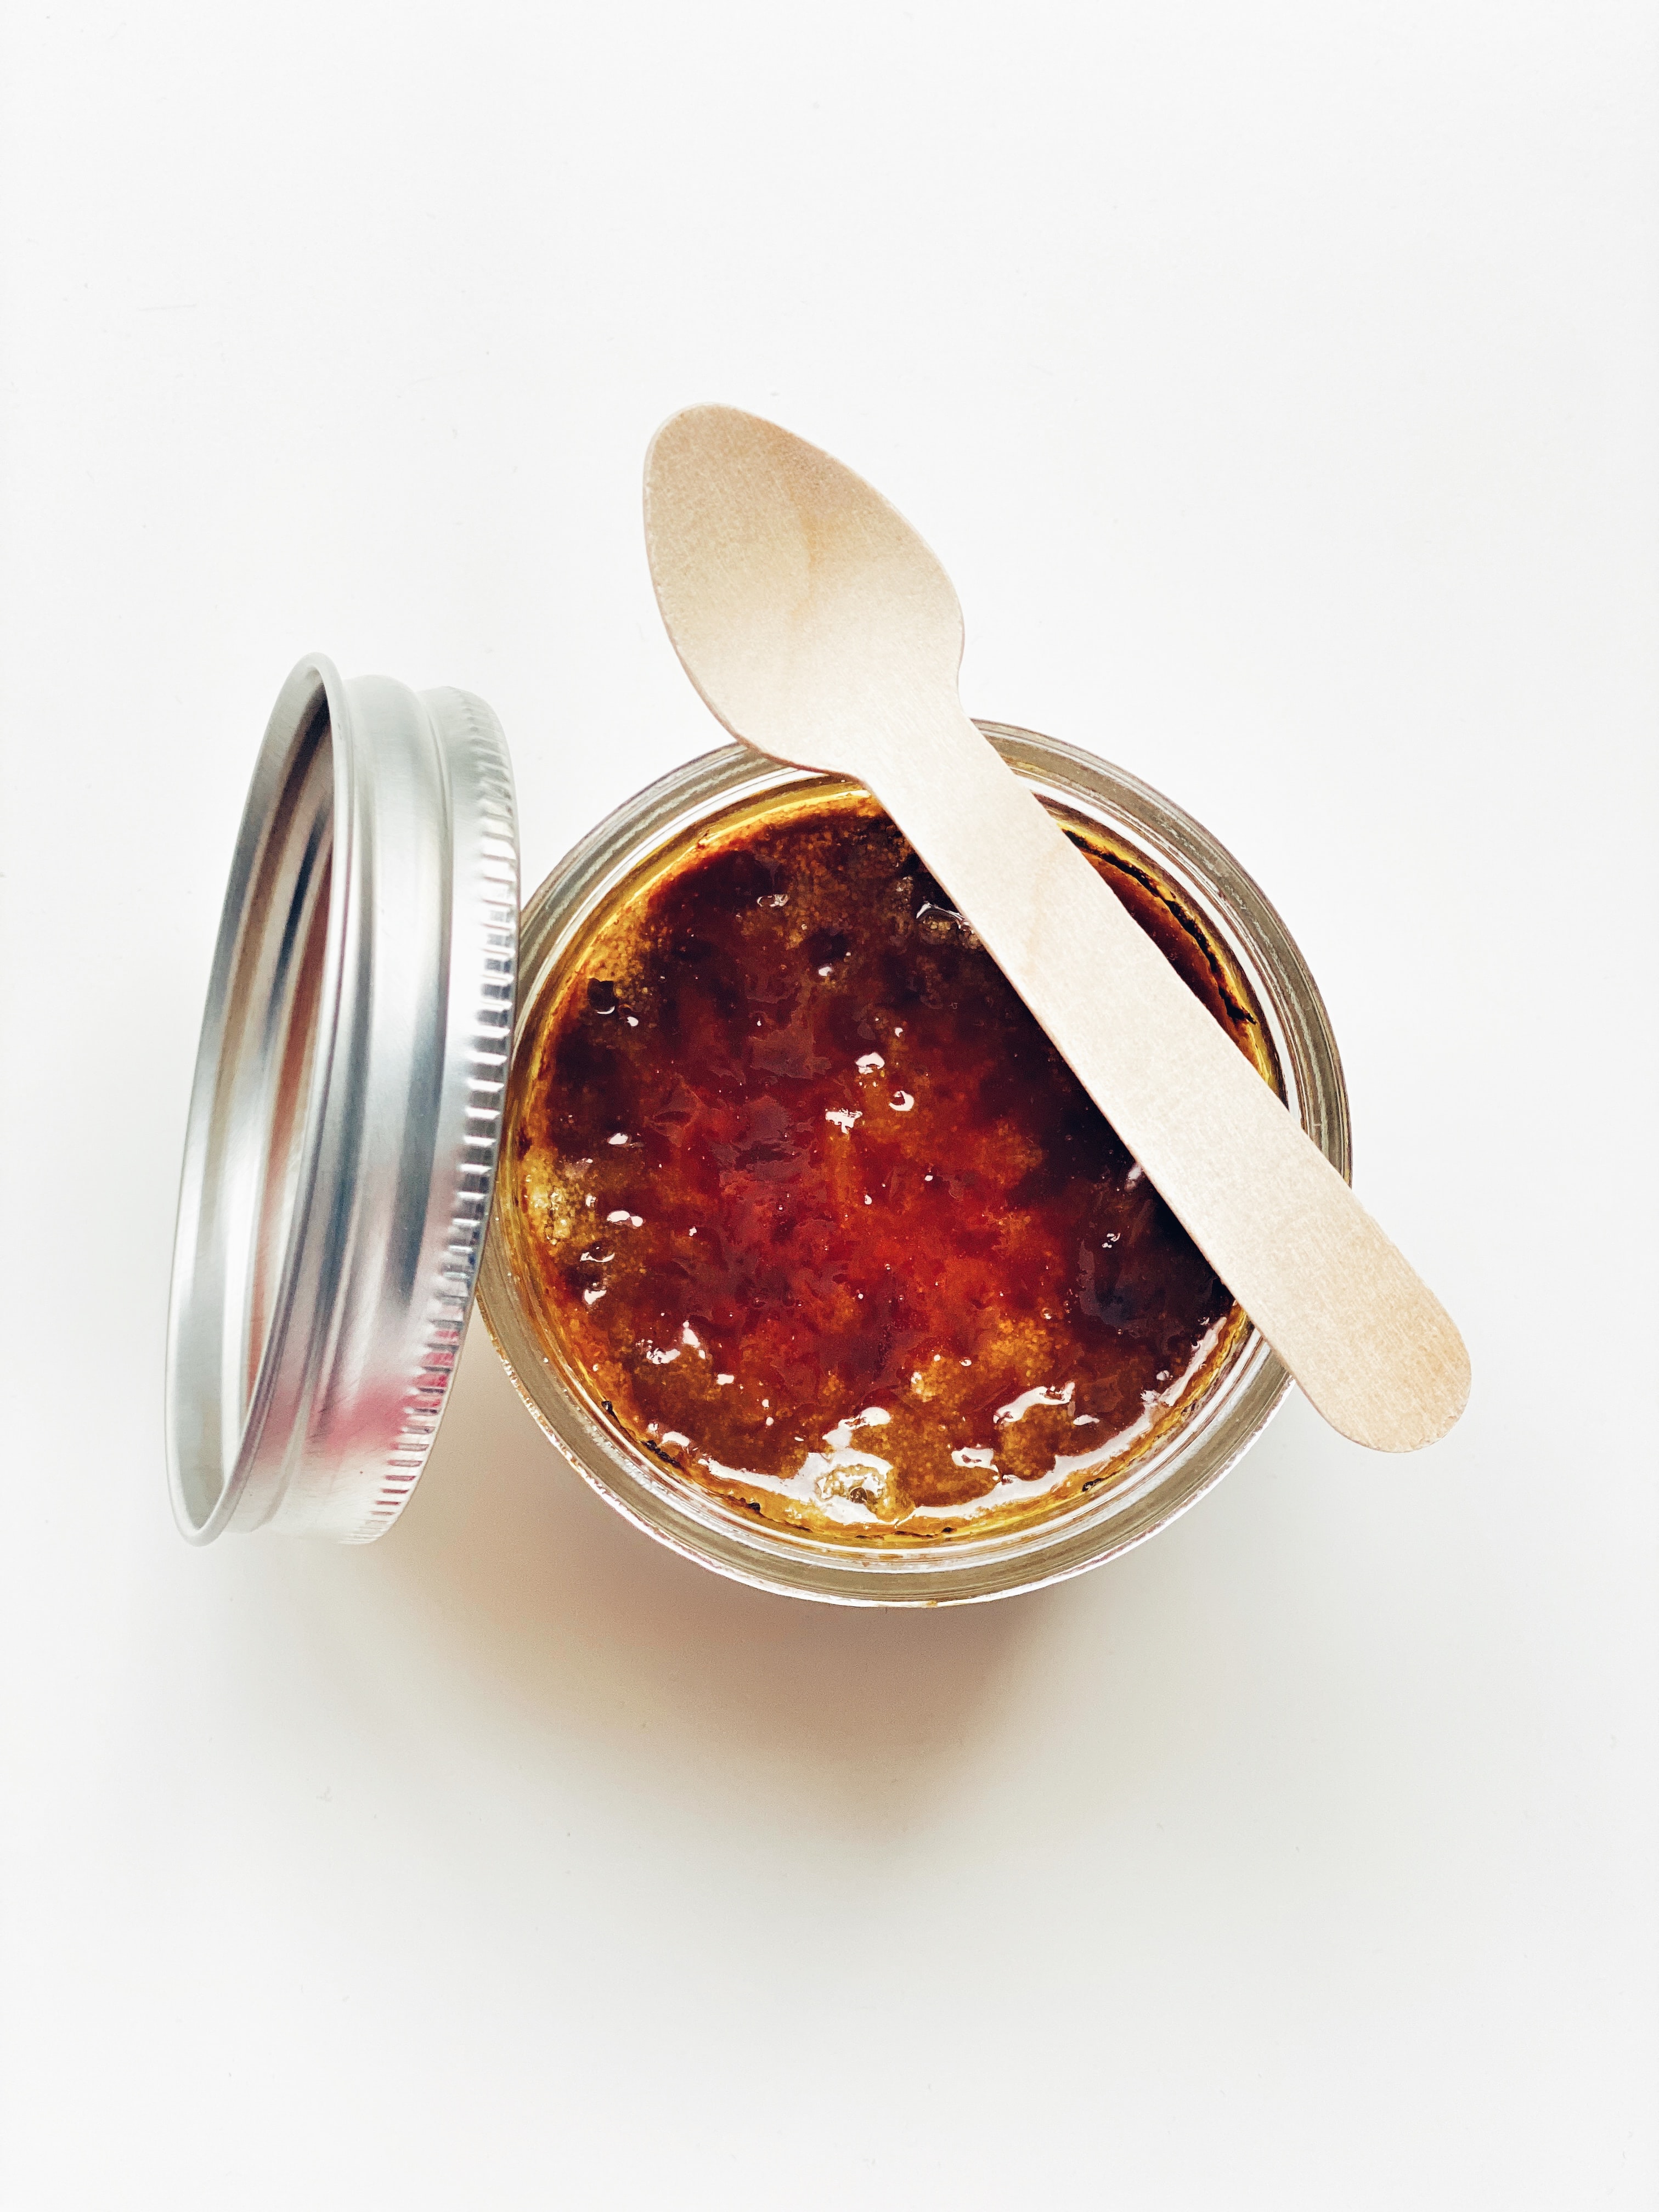
Eat jam all day - on toast, on croissants, on your bab’s belly hair, on a keto chimichanga deep fried in coconut oil.
Based on my internet research, this is the theoretical way to can a dependable jam, always sweet and sticky. Whether the Pioneer Woman’s methodology aligns to reality, my kitchen and fingertips (and latent fear of hot surfaces) will be the judge of that. I believe that preserving fruits is a path to feeling more connected to food and our ancestral way of living. Machinery that makes perishables last for months or years is unnatural compared to hand canning. I don’t want Welch’s or Smucker’s roping me into their preservatives and pectin-loaded poison. ✌🏾
Stay tuned for Pre Jam Papers Part II: Lit Canning Recipes for when I Have Canning Gear.
Can’t wait to finally start preserving
LCW-Recommended Canning Resources
Ball Complete Book of Home Preserving - seminal literature on canning published by the mason jar monopoly
Preserving Food: Jams and Jellies - outdated but cute brochure published by the University of Georgia
How to Can and Make Jam - Martha Stewart has a clickbait article on beginner canning, but the steps are clear and accurate.
Homemade Strawberry Jam - easy YouTube tutorial by Crouton Crackerjack; it leaves out the bath canning process but includes an easy stovetop jam recipe if you don’t have hardcore canning equipment yet.
“ Macerate” - verb; (especially with reference to food) soften or become softened by soaking in a liquid. This word is frequently mentioned in canning videos & recipes. To fully macerate, combine sugar and lemon juice with diced fruit and let it soak in the fridge for an hour. This “juices” the fruit and allows it to boil easier (especially if you’re not bath canning).
Again, I’m surprised at this blossoming of cooking adventures and food culture; I worked for Spoon university in college, but I was always slightly afraid of the kitchen. ↩︎
This Pioneer Woman-inspired methodology is one among many - canning is a fluid practice and subject to wives tales, seasons and what’s “fashionable” in the cooking world. I’ve learned that preserving is a trial-and-error field, and I’ll likely have a few failed batches before crafting the one. ↩︎